How-To Guide
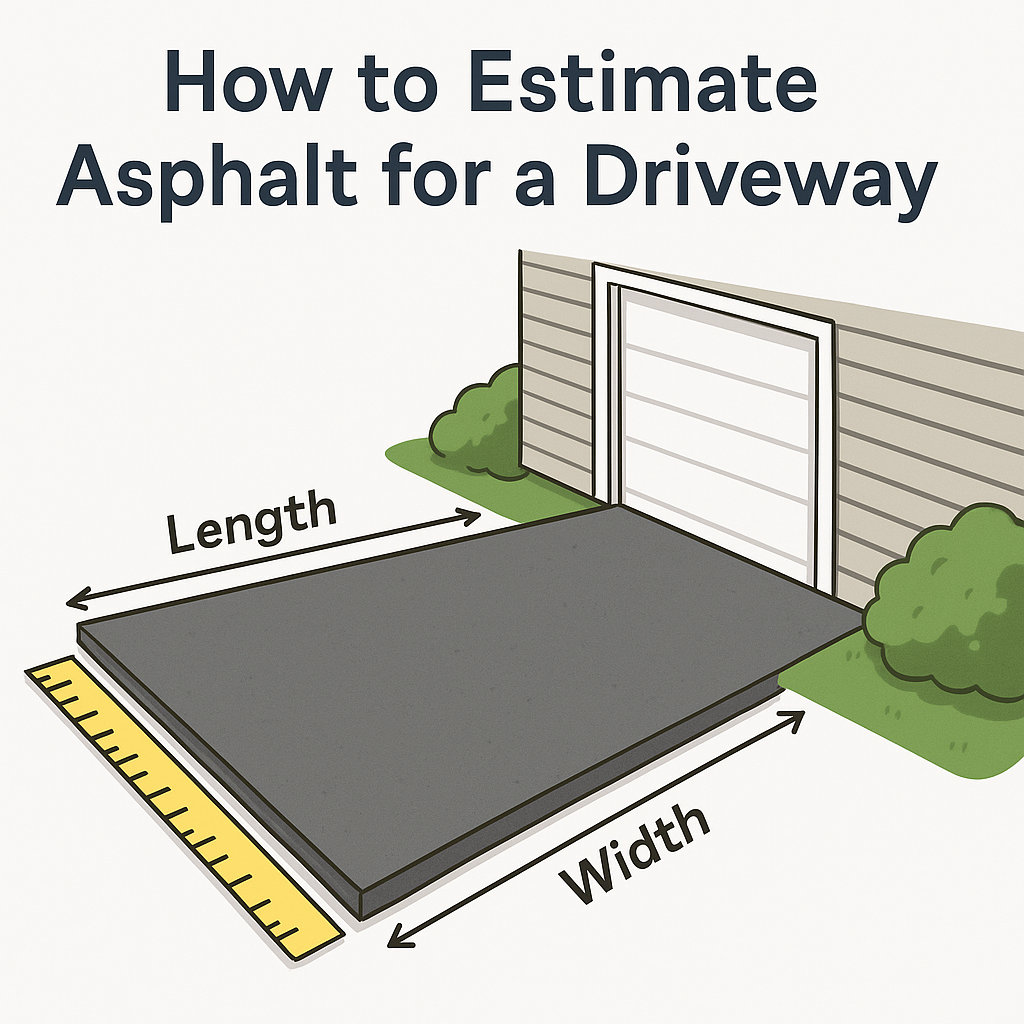
How to Estimate Asphalt for a Driveway
Accurate asphalt estimation is the foundation of any successful driveway project. Getting your calculations right ensures you'll stay within budget, avoid material shortages mid-project, and prevent wasteful over-ordering. This comprehensive guide walks you through the entire estimation process, from initial measurements to final material calculations, with expert tips to ensure professional-quality results.
The Complete Estimation Process
Estimating asphalt for a driveway involves several key steps, each requiring careful attention to detail. Follow this systematic approach for the most accurate results:
Step 1: Measure Your Driveway Dimensions
Begin by taking precise measurements of your driveway area. For the most accurate results:
- Use a long tape measure (50+ feet) or measuring wheel
- Measure length along the centerline of the driveway
- Take width measurements at several points (beginning, middle, end)
- For varying widths, calculate an average or divide into sections
- For curved driveways, measure along the curve, not straight-line distance
For rectangular driveways: Simply multiply length × width
Example: 40 ft long × 12 ft wide = 480 square feet
For irregular shapes: Divide the driveway into simple geometric sections (rectangles, triangles, circles), calculate each area separately, then add them together
Example: Main section (40 ft × 12 ft) + Flared entrance (10 ft × 5 ft ÷ 2) = 480 + 25 = 505 square feet
Pro Tip: Create a simple sketch with all measurements noted. This visual reference helps identify any areas you might have missed and serves as documentation for your project planning.
Step 2: Determine the Appropriate Thickness
The thickness of your asphalt layer significantly impacts both performance and material requirements. For residential driveways:
- Light-duty residential (cars only): 2 inches (0.167 feet)
- Standard residential: 2.5-3 inches (0.208-0.25 feet)
- Heavy-duty residential: 3-4 inches (0.25-0.33 feet)
Factors that might require increased thickness include:
- Regular heavy vehicle traffic (RVs, work trucks, etc.)
- Severe freeze-thaw climate conditions
- Poor soil or drainage conditions
- Steep slopes or areas with turning stress
Important: Convert your thickness from inches to feet for volume calculations
Example: 3 inches ÷ 12 = 0.25 feet
Pro Tip: When in doubt, consult with a local paving contractor who understands regional soil and climate conditions. The small additional cost of proper thickness pays dividends in extended pavement life.
Step 3: Calculate Volume and Weight
With your area and thickness measurements, you can now calculate the volume and weight of asphalt needed:
- Calculate volume in cubic feet: Area (ft²) × Depth (ft)
- Convert volume to weight: Volume (ft³) × Density (145 lb/ft³)
- Convert pounds to tons: Weight (lb) ÷ 2,000
Complete example calculation:
- Area: 505 square feet
- Thickness: 3 inches (0.25 feet)
- Volume: 505 ft² × 0.25 ft = 126.25 cubic feet
- Weight: 126.25 ft³ × 145 lb/ft³ = 18,306.25 pounds
- Tonnage: 18,306.25 lb ÷ 2,000 = 9.15 tons
Pro Tip: Add a 5-10% waste factor to account for compaction, spillage, and trimming. For our example: 9.15 tons × 1.08 = 9.88 tons (round up to 10 tons for ordering).
Base Preparation Considerations
A proper base is essential for asphalt longevity. When planning your project, also calculate materials for:
- Aggregate base: Typically 4-8 inches (0.33-0.67 feet) thick
- Base calculation: Area (ft²) × Base Depth (ft) × 1.5 tons/yd³ ÷ 27 ft³/yd³
- Example: 505 ft² × 0.5 ft × 1.5 ÷ 27 = 14 tons of aggregate base
Common Estimation Mistakes to Avoid
- Measurement inaccuracy. Even small measurement errors can significantly impact material requirements. Double-check all dimensions and consider having a second person verify your measurements.
- Insufficient thickness. Underestimating required thickness is a common and costly mistake. Thin asphalt may save money initially but will fail prematurely, requiring expensive repairs or replacement.
- Neglecting base preparation. The performance of your asphalt depends heavily on proper base preparation. Skimping on base materials or preparation will lead to premature failure regardless of asphalt quality.
Essential Tools for Accurate Estimation
Take advantage of these resources to ensure your driveway project is properly planned:
- Use the asphalt calculator for instant, accurate material calculations
- Learn proper measuring techniques in this measuring guide
- Determine the ideal thickness for your specific needs with this depth guide
- Understand how thickness affects performance in this thickness impact guide
- Estimate your complete project budget with the project cost calculator
- Avoid common estimation errors with this mistakes guide
By following this systematic approach to estimating asphalt for your driveway, you'll ensure your project has the right materials in the right quantities. This careful planning translates to a smoother installation process, better long-term performance, and optimal value for your investment. Remember that a well-constructed asphalt driveway can provide 15-20 years of service with proper maintenance, making the time spent on accurate estimation well worth the effort.